 Birch Bay Roofing
 Custer's Climate Is Tougher on Siding Than It Looks
Custer sits close enough to Birch Bay and the Strait of Georgia that salt-laden air is a daily fact of life, not an occasional weather event. Add Whatcom County's long, wet winters and the driving rain that comes off the water during a southwest blow, and you have a climate that quietly works against whatever material is on the outside of a house. None of this shows up overnight. It shows up two, five, ten years in, as caulk lines fail, paint chalks and peels, seams swell, and moss colonizes anything with texture or shade.
A lot of siding failures we get called out for in this area aren't dramatic. They're slow. Moisture gets behind a panel through a bad seam or missing flashing, and it stays wet longer than it should because the marine air never really lets things dry out the way it would in a drier climate. By the time a homeowner notices soft trim or a stain bleeding through paint, the damage has usually been building for a while.
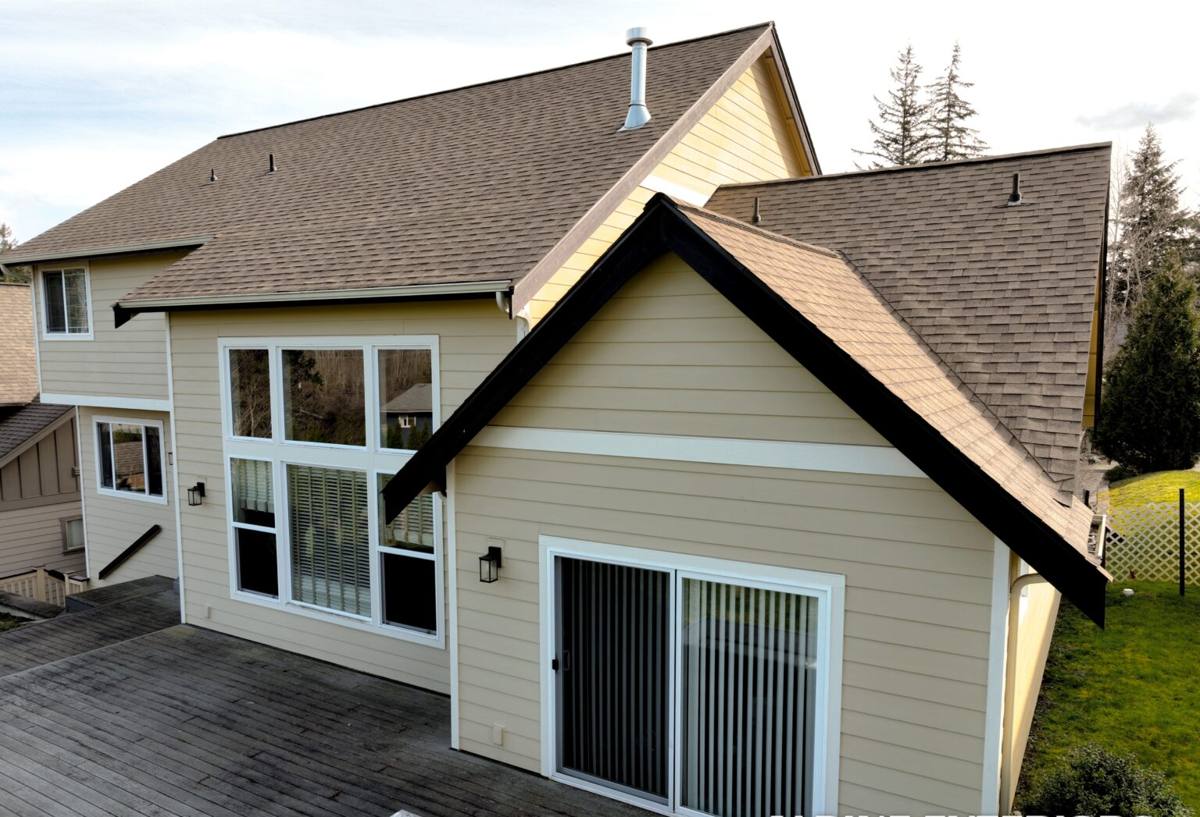
What Siding Actually Needs to Do Here
For a home in Custer, siding has three jobs, and all three matter more here than in most of the country:
- Shed driving rain without letting water track behind the panel at seams, corners, and penetrations
- Resist moss and mildew growth on a north- or shade-facing wall that may stay damp for weeks at a stretch
- Hold its finish through repeated salt-air exposure without chalking, fading, or losing its bond to the substrate
Vinyl siding can flex and gap at the seams over time, giving wind-driven rain a path in. Wood-based products, including engineered wood siding, depend entirely on an intact factory coating to keep moisture out of the substrate — once that coating is compromised at a cut edge or fastener hole, the material underneath is vulnerable to the exact conditions Custer sees most: prolonged dampness and salt exposure. This is the core of why we build every project around James Hardie fiber cement and don't install alternatives. It's not a marketing position — it's what holds up under this specific set of conditions.
Why James Hardie, Specifically
James Hardie fiber cement is made from cement, sand, and cellulose fibers. It doesn't rot, it isn't a food source for moss or mildew the way wood-based siding can be, and it's non-combustible. For a coastal Whatcom County property, the practical benefit is that the base material itself isn't the weak point — the installation is what determines how well the system performs.
ColorPlus Factory Finish
Most Hardie products we install use the ColorPlus finish system — a factory-applied, baked-on finish that's more consistent and more durable against UV and salt exposure than field-applied paint. It also comes with its own finish warranty, separate from the substrate warranty, which matters in an environment where paint failure is usually the first visible sign of trouble.
HZ5 Climate Engineering
James Hardie engineers its lines to different climate zones, and Western Washington falls into the HZ5 category — built around resistance to moisture and freeze-thaw cycling rather than extreme heat. That's a meaningful distinction for Custer, where the issue isn't dry heat cracking a product, it's sustained dampness and salt finding any weak point in the installation.
What a Correct Installation Involves
Fiber cement siding is only as good as the details around it. We've reworked enough homes in this area to know exactly where corners get cut, and we build our process to avoid every one of them.
Water Management Comes First
Before a single piece of siding goes up, the wall needs a correctly lapped weather-resistive barrier, properly integrated flashing at windows, doors, and any roof-to-wall intersections, and a drainage plane that lets incidental moisture escape rather than pool. On a home exposed to Birch Bay's wind-driven rain, this layer does more long-term work than the siding itself.
Clearances and Fastening
Hardie's install specifications call for specific clearances above grade, roof lines, and decks, along with correct fastener type, spacing, and penetration depth. Skipping the clearance requirements is one of the most common mistakes we see on prior installations — it's an easy way to trap moisture against the bottom edge of a panel where it can't dry.
Joints, Caulking, and Touch-Up
Seams need the right gap and a compatible, paintable sealant — not just anything from the shelf. Any cut edges get sealed and touched up with a color-matched, manufacturer-approved product to keep the factory finish's protection intact all the way around the panel, not just on the visible face.
Common Problems We Find on Existing Siding in This Area
| What We See | Underlying Cause | Why It Matters in Custer |
|---|---|---|
| Soft or stained trim near the ground | Missing clearance from grade or hardscape | Splash-back and standing moisture have more time to soak in given regional rainfall |
| Failed caulk joints | Wrong sealant or no joint gap | Salt air accelerates sealant breakdown faster than in inland climates |
| Moss buildup on shaded walls | Poor airflow, overhanging vegetation, or rough surface texture | Extended damp season gives moss more time to establish and hold moisture against the wall |
| Chalking or fading finish | Field-applied or lower-grade coating | Continuous salt exposure wears down non-factory finishes faster |
| Water staining at window corners | Missing or improperly lapped flashing | Driving rain off the water finds any gap in the flashing plane |
Our Process for a Custer Siding Project
Every job starts with an on-site look at the existing siding, trim, and sheathing — not just a measurement for materials. If there's existing siding to remove, that's the point where hidden moisture damage usually surfaces, and it's better to find it before new siding goes up than after.
- Assessment of current siding, flashing, and any signs of past moisture intrusion
- Removal of old siding and inspection of the sheathing and framing underneath
- Repair of any compromised sheathing or framing before new material goes on
- Installation of weather-resistive barrier and flashing at all penetrations
- James Hardie panel or lap installation to manufacturer clearance and fastening specs
- Sealing, caulking, and touch-up with manufacturer-approved products
- Final walk-through and cleanup
We don't skip the sheathing inspection step to save time. On a property this close to the water, what's happening behind the old siding often tells us more than what we can see from the outside.
What Affects the Cost
| Factor | Why It Changes the Price |
|---|---|
| Removal of existing siding | Tear-off, disposal, and any sheathing repair add labor before new siding can start |
| Home size and wall complexity | More corners, dormers, and trim detail mean more cutting, fitting, and flashing work |
| Story height and access | Multi-story walls and difficult access require more scaffolding or lift time |
| Panel vs. lap siding selection | Different Hardie profiles have different material and labor requirements |
| Trim and accessory work | Corner boards, soffit, and fascia repair or replacement done alongside siding |
We don't quote off a square-footage rule of thumb without seeing the property, because the condition of what's underneath the current siding is often the biggest variable — not the siding itself.
Maintenance in a Marine Climate
Correctly installed Hardie siding is low-maintenance, not no-maintenance. In a Birch Bay-area climate, a short annual check keeps small issues from becoming siding problems:
- Rinse off salt residue and grime, especially on walls facing open water or prevailing wind
- Trim back vegetation that keeps a wall shaded and damp longer than it should be
- Check caulk joints at trim, corners, and window edges for cracking or separation
- Look for moss or algae starting on north-facing or shaded sections and address it early
- Repaint (if not ColorPlus) on the manufacturer's recommended cycle rather than waiting for visible failure
Why Local Installation Experience Matters
Anyone can install fiber cement siding to a generic spec. Getting it right in Custer means understanding how this specific stretch of Whatcom County behaves — which walls take the worst of the wind-driven rain, how long a shaded elevation stays damp before moss takes hold, and where the county's permitting and code requirements apply to an exterior replacement. A crew that already works in this area isn't guessing at clearances or flashing details based on a manual written for a different climate; they're applying what actually holds up a mile from the water.
That local knowledge is also why we don't try to be a multi-brand siding installer. Standardizing on one system we trust, in one climate we know well, means every crew member is executing the same details the same way on every job — not switching install methods between products with different tolerances.
If you're weighing a siding replacement on a Custer property, we're glad to take a look and walk you through what your home actually needs — no pressure, no obligation. Use the form below to request a free estimate.