 Birch Bay Roofing
 New Construction on the Water Brings Its Own Window Requirements
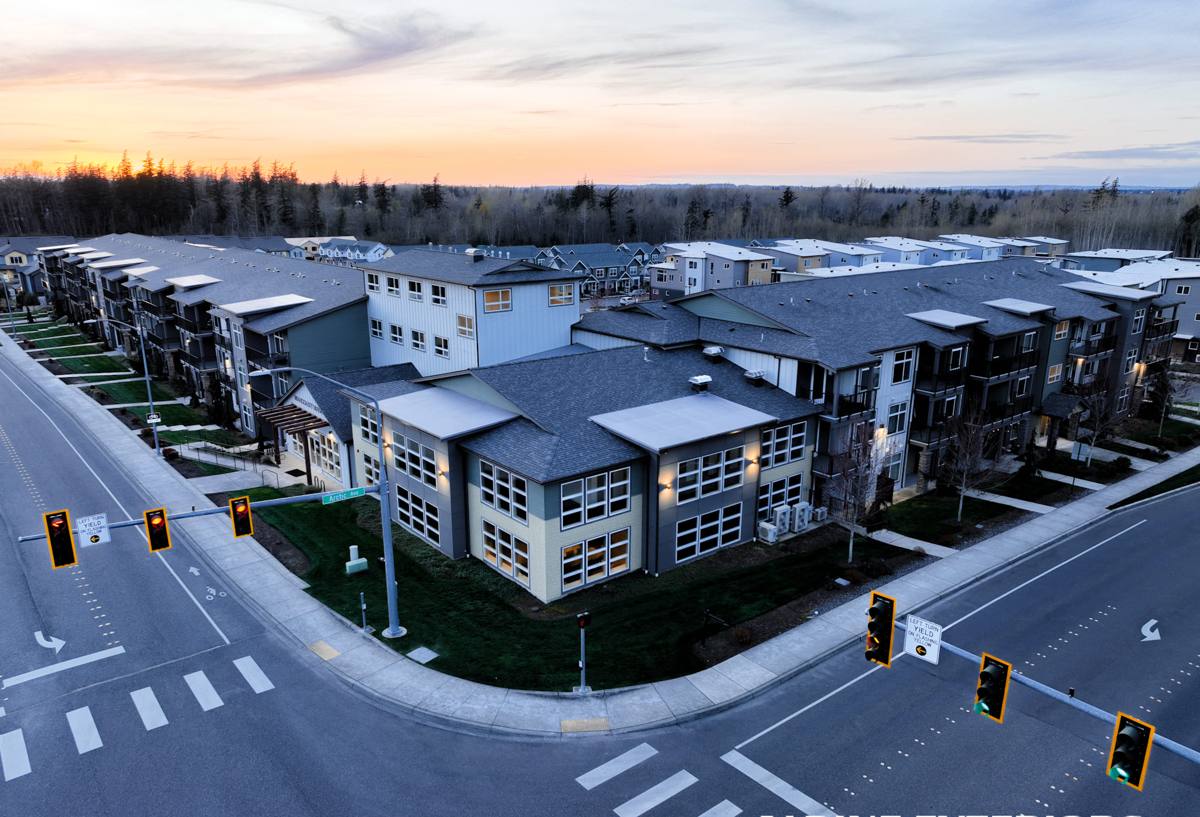
California Creek sits close enough to the water that homes going up here face a different set of demands than a build twenty miles inland. Salt-laden air off the bay, driving rain that comes in sideways during winter storms, and a moss season that can stretch eight months or more all put pressure on a home's windows before the family ever moves in. When windows go in during new construction, there's no do-over once siding and trim close up the opening — the flashing details done right the first time are what keep water out for the next few decades.
Birch Bay Roofing Co installs new-construction windows for builders and homeowners throughout Whatcom County, and California Creek jobs get treated with the coastal exposure in mind from the first day on site.
What Correct New-Construction Window Installation Actually Involves
A new-construction window installation is different from a retrofit or pocket replacement. The window goes in with its nailing flange exposed, before the weather-resistive barrier (WRB) and siding are finished around it. That means the flashing sequence at the rough opening is doing almost all of the long-term waterproofing work — get it wrong and the mistake gets sided over and hidden for years until a leak shows up somewhere else entirely.
Flashing and Drainage Come First
Every opening needs a sloped sill pan, formed so any water that gets past the window drains back outside instead of pooling on the sill or wicking into the framing. End dams at both jamb corners keep that water from running off the sides into the wall cavity. From there, self-adhered flashing tape gets lapped shingle-style: sill flashing goes on first, jamb flashing laps over the sill legs, and head flashing goes on last, lapping over the jambs. The housewrap above the window then laps over the top of the head flashing — never tucked underneath it — so gravity always sends water down and over the next layer, not behind it.
Fastening, Shimming, and Sealing
Before any fastener goes in, the window gets shimmed square, level, and plumb. A window that's slightly racked in the opening won't operate correctly and puts uneven stress on the seals over time. Fasteners go through the nailing fin at the spacing the manufacturer specifies — skipping fastener locations to save time is a common shortcut that shows up later as a loose or leaking corner. On the interior, the gap between the window frame and rough opening gets backer rod and a proper low-expansion sealant or gap-filling insulation, not just a bead of spray foam alone. Foam alone doesn't seal against air and moisture the way a proper sealant joint does, and over-filling the gap can bow the frame.
Why the Local Climate Changes the Approach
Whatcom County's marine climate means new construction near the water deals with more wind-driven rain events than a typical inland build. Driving rain pushes water sideways into wall assemblies with more force than a straight-down storm, which is why the sill pan and shingle-lap sequence matter more here than they would in a drier region. Salt air off the bay accelerates corrosion on unprotected fasteners, hinges, and hardware, which is a real consideration when choosing screws, cladding, and hardware finishes for a California Creek build. And the long moss season — driven by shade, moisture, and mild temperatures much of the year — means anything that traps standing water or organic debris against a window sill or trim board becomes a maintenance problem faster than it would somewhere drier.
Choosing Window Materials for a Coastal Whatcom County Lot
There's no single "best" window material for every home, but some hold up to salt air and constant moisture with less upkeep than others. This is a conversation worth having with the builder before windows are ordered, since swapping materials after the rough openings are framed can mean costly changes.
| Frame Material | Coastal/Salt-Air Behavior | Maintenance | Typical Lifespan |
|---|---|---|---|
| Vinyl | Won't rust or corrode; performs consistently near salt air | Low — occasional washing | Roughly 20-30 years |
| Fiberglass | Dimensionally stable and non-corrosive; handles temperature and moisture swings well | Low | Often 30+ years |
| Aluminum-clad wood | Good exterior protection as long as the cladding and seals stay intact; the wood core is vulnerable if water gets behind the cladding | Moderate — seals and caulk lines need periodic checks | Roughly 20-30 years with upkeep |
| Bare aluminum | Conducts cold and can pit or corrode near salt air without an upgraded finish | Higher — finish and hardware need more attention | Roughly 15-25 years |
Our standard on new builds is to steer clients toward vinyl or fiberglass for most California Creek homes specifically because they hold up to salt air and moisture with the least ongoing maintenance. Clad-wood windows can still be the right call for a particular design or budget — that's a homeowner and builder decision — but we make sure everyone understands the maintenance trade-off going in rather than finding out five years later.
Our New-Construction Window Process
New-construction window work runs on the builder's schedule, so coordination matters as much as installation quality.
- Plan review: We look at the window schedule and rough opening dimensions against the actual framing before ordering, catching sizing mismatches early instead of on install day.
- Product selection: We talk through frame material, glazing options, and hardware finishes with the homeowner or builder, factoring in the site's exposure to wind and salt air.
- Scheduling with the build sequence: Windows go in after the WRB is on the wall sheathing but before siding closes up the openings, timed with the framer and siding crew so nobody is waiting on anybody.
- Installation: Sill pan, shingle-lapped flashing, shimming, fastening, and sealing, done to manufacturer specifications so the warranty stays intact.
- Walkthrough: Every opening gets checked for square operation, consistent reveals, and a complete flashing lap before we sign off and the siding crew closes the wall.
Mistakes We See When Steps Get Skipped
Most window leaks in newer homes don't come from a bad window — they come from a flashing detail that got skipped or done out of order under schedule pressure. A few of the recurring issues we get called to fix on newer California Creek builds:
- Housewrap tucked under the head flashing instead of over it, sending water straight into the wall
- No end dams on the sill pan, letting water run out the side into the framing
- Caulk used as the only air/water seal at the interior, with no backer rod behind it
- Fasteners skipped at corners to speed up install, leaving the frame under-supported
- Wrong sealant type used against a specific cladding, causing it to fail early instead of lasting
Any one of these can sit hidden behind finished siding and drywall for years before showing up as a stain, a soft spot in trim, or a musty smell — usually well past the point where it's a quick fix.
Why a Crew That Already Works California Creek Matters
A crew that installs windows up and down this stretch of Whatcom County coastline already knows how the wind and rain move across these lots, which corners of a build take the worst weather, and which flashing detail to prioritize this week versus which can wait. That familiarity comes from repetition, not a manual. It also means faster response if a warranty question comes up after move-in — we're not driving in from across the county to look at a single window, and we already know the site.
We also work regularly with builders and framers in the area, so a California Creek job fits into an existing rhythm instead of starting from scratch on communication and scheduling every time.
After Move-In: What to Watch For
Once a home is finished and occupied, a little seasonal attention keeps new windows performing the way they were installed to perform. Moss and algae growth during the wet months can hold moisture against sills and trim if it's allowed to build up, so a gentle cleaning before it gets thick is worth more than a deep scrub after it's established. Salt air can dull hardware finishes over time even on corrosion-resistant materials, so a rinse during a normal exterior cleaning helps. And exterior sealant joints are wear items — checking them every year or two, especially after a hard winter of driving rain, catches a failing joint while it's still a five-minute fix instead of a wall repair.
A Straightforward Checklist for Homeowners and Builders
If you're a homeowner watching over a new build, or a builder bringing in a window subcontractor, these are the details worth confirming before the wall closes up:
- Sill pan is sloped outward with end dams at both corners
- Flashing tape is lapped shingle-style — sill, then jambs, then head
- Housewrap laps over the head flashing, not under it
- Window is shimmed square, level, and plumb before fastening
- All manufacturer-specified fastener locations are used
- Interior gap has backer rod and sealant, not spray foam alone
- Exterior sealant joint is continuous with no gaps or pinholes
- Frame material and hardware are appropriate for salt-air exposure
If you're building or renovating in California Creek and want windows installed right the first time, Birch Bay Roofing Co is happy to take a look at your plans and talk through options. Reach out for a free, no-pressure estimate using the form below.