 Birch Bay Roofing
 Building New on Lummi Island Comes With Its Own Window Problems
If you're framing a new home or a major addition on Lummi Island, the windows are one of the few components that have to perform against everything the island throws at a house at once: salt-laden air off the Strait of Georgia and Bellingham Bay, driving rain that comes in sideways during winter fronts, and a mild, damp climate that keeps moss, algae, and mildew active on north- and west-facing surfaces almost year-round. None of that is unusual for Whatcom County. What's different about Lummi Island is the exposure — open water on multiple sides, less tree cover in some newer building areas than on the mainland, and a ferry-only supply chain that makes it more important to get the install right the first time, since a callback isn't a quick trip.
New construction is actually the best possible time to deal with this. You're not fighting old flashing, rotted sheathing, or a builder's shortcuts from thirty years ago — you're setting the water management plan from the studs out. Get it right now and the windows should give you decades of trouble-free service. Get it wrong now, and you're looking at hidden rot behind the trim in five to ten years, which is a far more expensive fix than doing it correctly during framing.
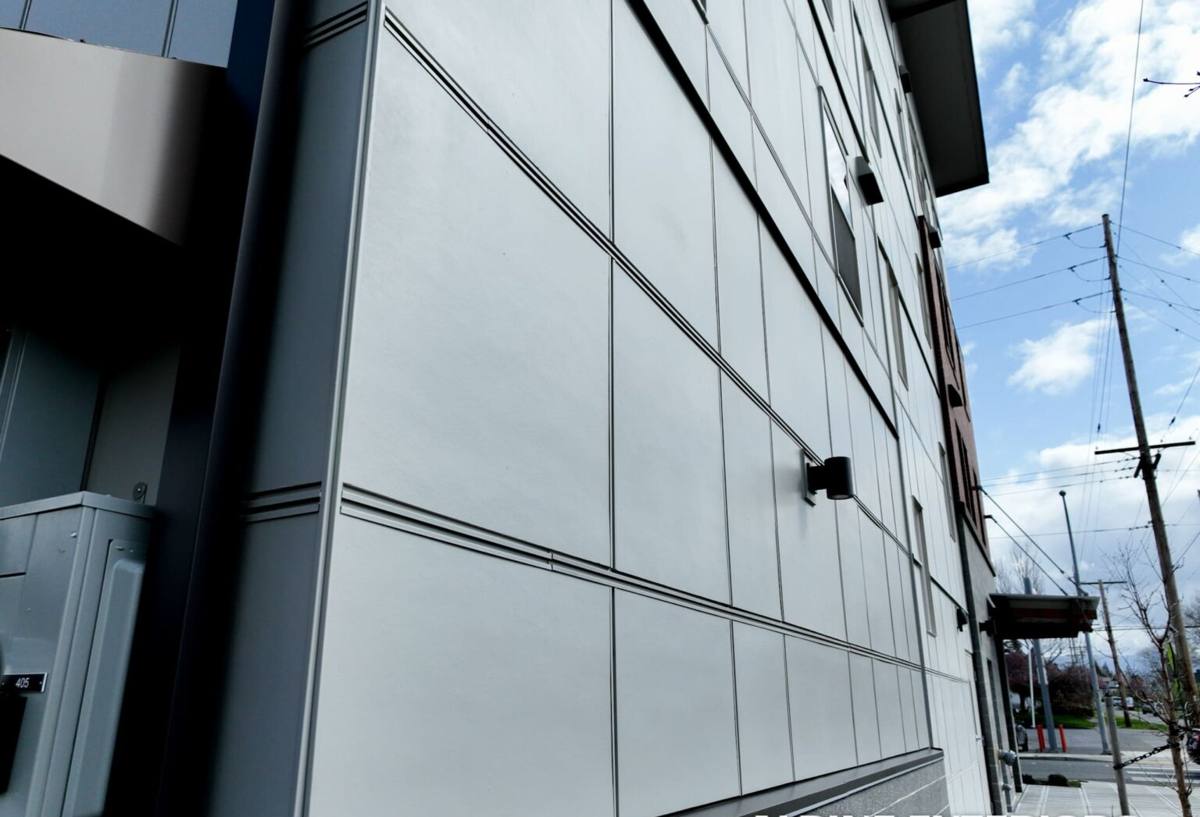
Why Salt Air and Driving Rain Change the Install, Not Just the Product
A lot of window discussion focuses on the unit itself — vinyl versus fiberglass, double-pane versus triple-pane. That matters, but on Lummi Island the installation detail matters just as much, if not more. Salt air accelerates corrosion on exposed fasteners and lower-grade hardware. Wind-driven rain finds any gap in the flashing sequence and pushes water uphill, past the sill, if the drainage plane isn't built correctly. And because the island sits in open water, wind loads on window walls can be higher than a sheltered mainland lot with the same square footage.
That means three things need to line up on every new-construction window opening:
- The rough opening is framed square, level, and to the exact dimension the window manufacturer specifies — not "close enough."
- The flashing sequence (sill pan, side flashing, water-resistive barrier integration, head flashing) is installed in the correct shingle-lap order so water always sheds outward and down, never behind the WRB.
- The window unit itself is rated for the wind and water exposure of an open-water lot, not just whatever met code on a sheltered inland build.
What a Correct New-Construction Window Install Actually Involves
1. Rough Opening Prep
Before a window ever gets set, we confirm the rough opening matches the manufacturer's specified dimension with the correct margin for shimming — too tight and the frame can bow under fastening pressure, too loose and you lose structural bearing and create air gaps. We also check that the sheathing around the opening is sound and that the framer left a flat, continuous plane for the flashing to lay against.
2. Sill Pan First
The sill pan is the single most important piece of a coastal window install. It's a sloped, sealed pan under the window that catches any water that gets past the sash and directs it back outside instead of into the wall cavity. On a Lummi Island build, we treat the sill pan as non-negotiable — it's cheap insurance against the wind-driven rain this area sees several times a winter.
3. Shingle-Lap Flashing Sequence
Side flashing goes on next, followed by the window unit, then head flashing, with the water-resistive barrier integrated in the correct overlap order at every layer — always so that a higher layer overlaps the one below it, like shingles on a roof. This is the step that gets rushed on production builds and is almost always where later leaks trace back to.
4. Setting and Fastening the Unit
The window is shimmed plumb, level, and square, then fastened per the manufacturer's schedule — not just at the corners. Under-fastening lets a frame flex and rack in high wind; over-fastening or fastening through an unshimmed frame can bow the sash and cause the window to fail its seal early. We use corrosion-resistant fasteners throughout given the salt-air exposure.
5. Sealing and Insulating the Perimeter
The gap between the rough opening and the window frame gets a low-expansion foam or backer rod and sealant — enough to stop air infiltration without bowing the frame. Exterior joints get sealed with a sealant rated for the movement and UV exposure of a marine climate.
6. Final Weatherproofing
Exterior trim, house wrap tape, and cladding are integrated last, so every layer above the window still sheds water down and over the layer below it, all the way to the foundation.
Choosing the Right Window Frame Material for an Open-Water Lot
Frame material matters more here than it would on a sheltered inland lot. Here's how the common options hold up against salt air, moisture cycling, and long-term maintenance:
| Frame Material | Salt Air / Moisture Resistance | Maintenance | Typical Trade-Offs |
|---|---|---|---|
| Vinyl | Good — won't corrode or rot | Low; occasional cleaning | Cost-effective; limited color/finish options; can expand/contract more with temperature swings |
| Fiberglass | Very good — dimensionally stable, resists corrosion | Low | Higher upfront cost; strong long-term value for exposed sites |
| Wood-clad | Fair — depends entirely on cladding integrity and sealant maintenance | Higher; cladding seams and sealant joints need periodic inspection | Best interior appearance; more exposure risk if cladding is compromised |
| Aluminum | Poor to fair without marine-grade coating — prone to corrosion and condensation | Moderate to high | Strong but thermally inefficient and higher corrosion risk in salt air unless properly coated |
For most new-construction homes on Lummi Island, we steer clients toward vinyl or fiberglass frames specifically because they don't give salt air and moisture anything to corrode. Wood-clad units can still work well, but we're honest with clients that they come with a maintenance commitment the other options don't — the cladding and every seam in it has to stay sealed, indefinitely, or moisture gets a path into the wood underneath.
Glass Package Considerations
Most new builds in this climate do well with a dual-pane, low-E glass package with argon fill — it manages heat loss well in our mild-but-damp winters without the added cost of triple-pane, which is rarely necessary this close to the water where temperature swings are moderate. What matters more here is the spacer system and seal quality, since a compromised seal on an exposed lot fails faster than the same seal on a sheltered inland home.
Our Process for New-Construction Window Jobs
- Plan review: we look at the window schedule and rough opening sizes before framing is finalized, so nothing gets built to the wrong dimension.
- Coordination with your builder or framer: we confirm sequencing so windows go in at the right point relative to the WRB and siding install — not before the wall is ready, not so late it holds up other trades.
- Install: full flashing and setting sequence as outlined above, on every opening, with no shortcuts based on which elevation faces the water.
- Walkthrough: we check operation, seal, and squareness on every unit before we consider the job done.
Mistakes We See on Coastal New-Construction Jobs
Most window problems on new builds trace back to a handful of repeated shortcuts. Before you sign off on a window install — ours or anyone else's — it's worth knowing what to look for:
- No sill pan, or a sill pan that isn't properly sealed and sloped to drain.
- Flashing installed out of shingle-lap order, so a layer traps water instead of shedding it.
- Standard fasteners used in a salt-air environment instead of corrosion-resistant hardware.
- Rough openings that are out of square, forcing the installer to rack the window frame to fit.
- Sealant used as a substitute for proper flashing instead of a backup to it.
- Window frame material chosen without regard to the site's actual wind and water exposure.
Cost Factors for New-Construction Windows
Every new build is different, so we won't quote a number without seeing the plans, but these are the factors that actually move the price on a Lummi Island job:
| Factor | Why It Matters |
|---|---|
| Number and size of openings | More and larger units mean more material and labor |
| Frame material | Fiberglass and impact-rated units cost more than standard vinyl |
| Glass package | Low-E coatings, argon fill, and specialty glazing add cost but also performance |
| Elevation exposure | Water-facing walls may warrant a higher wind/water rating than sheltered elevations |
| Site logistics | Ferry scheduling and material staging on the island are part of any honest bid |
Living With Windows Here: Maintenance That Actually Matters
Once the windows are in, upkeep in this climate is mostly about staying ahead of moisture and organic growth rather than anything dramatic. Rinse salt residue off frames and glass periodically, especially on water-facing elevations. Keep weep holes clear so any water that does get into the frame track can drain out. And during the wetter months, check that moss or algae isn't building up on sills or trim where shade and dampness combine — left alone, it holds moisture against the frame and finish longer than it should. None of this is heavy work, but it's the kind of small, regular attention that keeps a good install performing for its full service life in a marine climate.
Why It Matters That We Already Work on Lummi Island
Getting materials, crews, and equipment to Lummi Island means working around ferry schedules, which affects how a job gets planned and staged — that's not something a mainland-only crew necessarily accounts for in their timeline. We're based in Birch Bay and already work throughout this part of Whatcom County, including Lummi Island, so we plan around that logistics reality instead of learning it on your job. We also know what this specific exposure — open water, salt air, and heavy winter rain — does to a window installation over time, because we've seen how both good and bad installs hold up out here. That's the kind of knowledge that doesn't show up in a product brochure.
Get a Straight Answer Before You Build
If you're planning a new build or major addition on Lummi Island, it's worth getting a window and flashing plan reviewed before framing locks in the rough openings — it's a lot easier to fix on paper than after the walls are closed up. We're happy to walk through your plans, talk through frame material and glass options for your site's exposure, and give you a straightforward, no-pressure estimate. Use the form below to get started.