 Birch Bay Roofing
 Building New in Nooksack: What the Climate Actually Asks of Your Windows
If you're framing a new home or addition in the Nooksack area, your windows are doing more work than they would somewhere inland. This part of Whatcom County sits close enough to the Salish Sea that salt-laden air reaches building materials on the wind, and the region gets long stretches of driving rain pushed sideways by storms off the water. Add the wet, shaded, moss-friendly conditions that persist through much of the fall, winter, and spring, and you have a climate that's genuinely harder on window openings than a lot of homeowners expect when they're planning a build.
None of this means you need exotic products. It means the window opening has to be built correctly the first time, because a new-construction window is only as good as the flashing, sequencing, and sealing details around it. On a remodel you can sometimes catch a problem later. On new construction, the wall gets closed up and sided over, and whatever's behind that siding stays hidden until there's a leak.
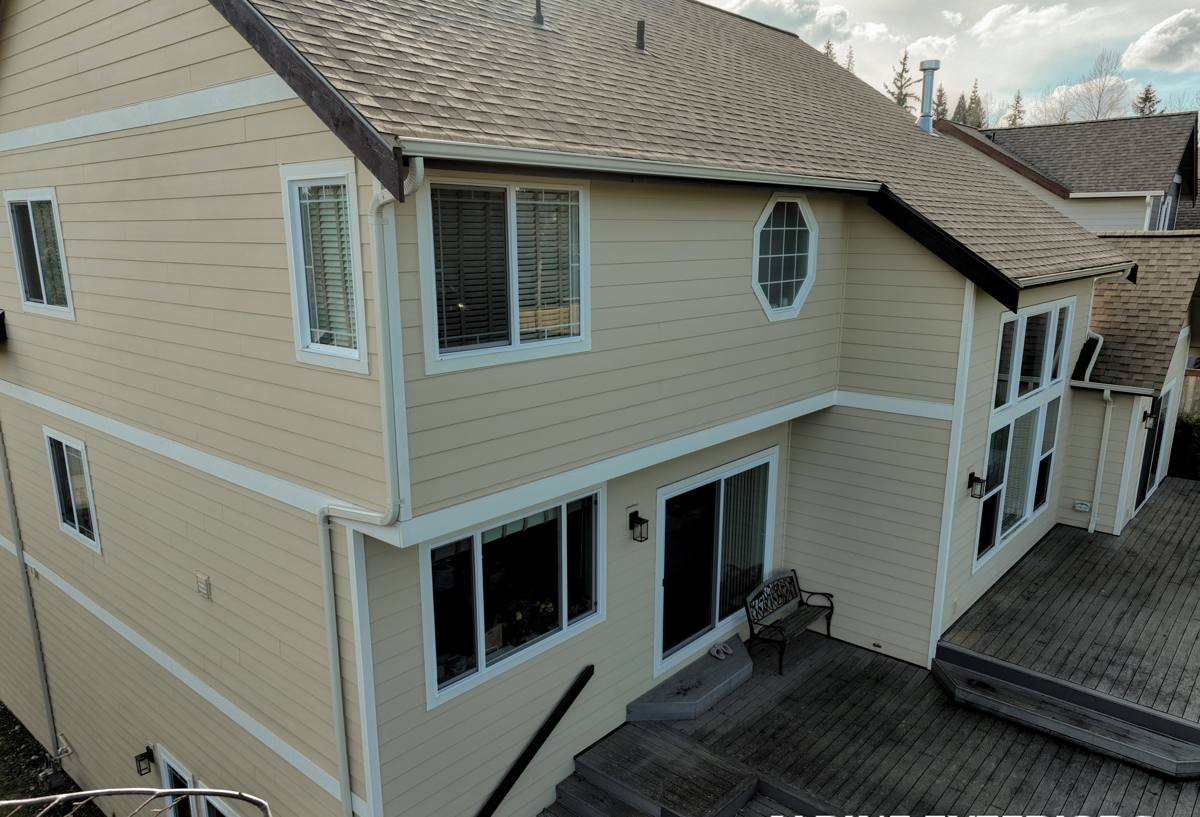
New-Construction Windows vs. Replacement Windows: Why the Method Matters Here
New-construction windows have a nailing fin around the perimeter of the frame that gets fastened directly to the sheathing before the weather-resistive barrier and siding go on. That's different from a replacement (or "pocket") window, which gets inserted into an existing frame after the original sash is removed. For a home being built from the ground up, new-construction windows are almost always the right call — they let us integrate the window into the wall's drainage plane properly, rather than working around an existing opening.
The tradeoff is that new-construction installs demand more precision at the flashing stage. There's no old frame to lean on for reference, and there's no second chance to fix a bad seal once the siding is up. In a climate that sees as much wind-driven rain as this one does, getting that sequence right the first time is the whole ballgame.
What a Correct Installation Involves
Flashing and Water Management
Every window opening needs a flashing system that directs water down and out, never letting it pool at the sill or work its way behind the barrier. That means a properly pitched or sloped sill pan, side flashing that laps correctly over the pan, and head flashing that laps under the weather-resistive barrier above the window — never over it. Get the lapping order backward and you've built a funnel instead of a barrier. In a house exposed to sideways rain off the water, that mistake tends to show up as a stain on an interior wall a year or two after move-in, long after the crew that made the error is gone.
Air Sealing and Insulation
Beyond keeping bulk water out, the gap between the window frame and the rough opening needs to be air-sealed and insulated — typically with a low-expansion foam or backer rod and sealant, not packed fiberglass alone. A poorly sealed gap is both an energy leak and a condensation risk, since warm interior air meeting a cold frame in winter can create moisture inside the wall cavity where you can't see it.
Fastening and Structural Fit
The window needs to be plumb, level, and square in the opening before it's fastened, with shims placed at the manufacturer's specified points so the frame isn't racked or bowed. A window that's slightly out of square will bind, won't lock cleanly, and puts uneven stress on the weatherstripping — which shortens the life of the seal well before the glass or frame itself would ever fail.
Choosing Window Specs for This Climate
Frame material, glazing, and hardware all affect how a window holds up to salt-tinged, wet, low-sun conditions. There's no single "correct" choice for every home — it depends on budget, exposure, and how the house is oriented — but here's how the common options compare for a build in this part of Whatcom County.
| Frame Material | Moisture & Salt-Air Performance | Maintenance | Typical Cost Tier |
|---|---|---|---|
| Vinyl | Good — won't rust or rot; performs well in coastal-adjacent air | Low — occasional cleaning | Lower |
| Fiberglass | Very good — dimensionally stable, resists moisture and corrosion | Low | Mid to upper |
| Aluminum-clad wood | Good exterior protection, but any breach in the cladding exposes wood to rot risk in a wet climate | Moderate — seams and joints need periodic checking | Upper |
| Bare wood | Weakest fit for this climate without diligent upkeep — prone to swelling and rot in prolonged damp exposure | High — regular painting/sealing required | Mid to upper |
For most new builds in the Nooksack area, we steer clients toward vinyl or fiberglass frames because they hold up to the moisture load with the least ongoing maintenance. If a homeowner wants the look of wood on the interior, a clad option can work — it just needs to be detailed and flashed carefully, since any gap in the cladding becomes a slow-motion problem in a climate this wet.
On the glass side, dual-pane with a low-E coating is standard for this region's mix of cool, wet winters and mild summers. Argon-filled units add a modest efficiency bump. We'll talk through what makes sense for your specific orientation and budget rather than defaulting to the priciest option.
Our Process, From Rough Opening to Final Trim
- Rough opening check. We verify the opening is sized, squared, and sheathed correctly before a window ever arrives on site.
- Sill pan installation. We build a sloped, sealed sill pan so any water that reaches the sill drains outward instead of sitting against the frame.
- Window set and fastening. The unit is set plumb and level, shimmed at the correct points, and fastened per manufacturer specification.
- Flashing integration. Side and head flashing are lapped in the correct order with the weather-resistive barrier, maintaining a continuous drainage plane.
- Air sealing. The interior gap between frame and opening is sealed and insulated to control both drafts and condensation risk.
- Final inspection and documentation. We walk each opening before siding goes on, since that's the last point where a flashing error is easy to fix.
We coordinate directly with your builder or general contractor so window installation slots into the framing schedule without holding up the rest of the build — and so nothing gets sided over before it's been checked.
Mistakes We See on New Builds in This Region
Most window problems on new construction aren't caused by a bad window — they're caused by a rushed or out-of-sequence install. The patterns we see most often around here:
- Head flashing installed over the weather-resistive barrier instead of under it, which channels water directly into the wall cavity
- Sill pans skipped or improvised with sealant alone, with no real slope to drain water outward
- Windows fastened before the opening was verified square, leading to binding sashes and premature weatherstripping wear
- Gaps between frame and rough opening left unsealed, creating both an energy loss and a hidden condensation point
- Exterior sealant joints left unmaintained, allowing the long moss season to trap moisture against trim and frame edges over time
Any one of these can look fine on install day and only show itself after a full wet season of driving rain has tested the seal.
What to Confirm With Your Builder or GC Before Windows Go In
If you're managing a new build and want to make sure the window package gets handled correctly, these are worth confirming up front:
- Who is responsible for the sill pan and flashing detail — the framer, the window installer, or a dedicated crew?
- What weather-resistive barrier is being used, and is the flashing sequence compatible with it?
- Are window specs (frame material, glazing, U-factor) matched to the home's orientation and exposure?
- Is there a walk-through of each opening before siding is installed?
- What's the manufacturer's warranty, and does it require a certified or approved installer to stay valid?
Why Hiring a Crew That Already Works in Nooksack Matters
A window flashing detail that works fine in a dry inland climate can fail here within a couple of wet seasons. Crews who don't regularly work in this part of Whatcom County sometimes default to installation habits that assume less rain exposure than this area actually gets, or they underestimate how much upkeep a given frame material will need once the moss season sets in every year. We work in Birch Bay and the surrounding Nooksack area regularly, which means we're building to what this specific climate does to a house, not to a generic install spec.
It also means we're a known, local point of contact if a question comes up after the build is finished — not a crew that installed your windows once and moved on to another region.
Let's Talk About Your Build
If you're planning new construction or an addition in the Nooksack area and want windows installed correctly the first time, we're happy to walk through your plans and give you a straightforward, no-pressure estimate. Use the form below to get started.