 Birch Bay Roofing
 Building Decks for Lummi Island's Marine Climate
A deck on Lummi Island lives a harder life than a deck built forty miles inland. Homes here sit close to the water, exposed to salt-laden air off the Salish Sea, wind-driven rain that comes in sideways more often than straight down, and a shoulder season that stretches on long enough for moss to get comfortable on any horizontal surface that stays damp. Birch Bay Roofing Co has worked throughout Whatcom County's coastal communities, and Lummi Island's conditions are some of the most demanding we see for outdoor structures. A deck built the way it would be built in a dry inland subdivision simply won't hold up out here the same way.
This page is about one thing: custom decks, built specifically for Lummi Island homes, and what it actually takes to get one right in this environment.
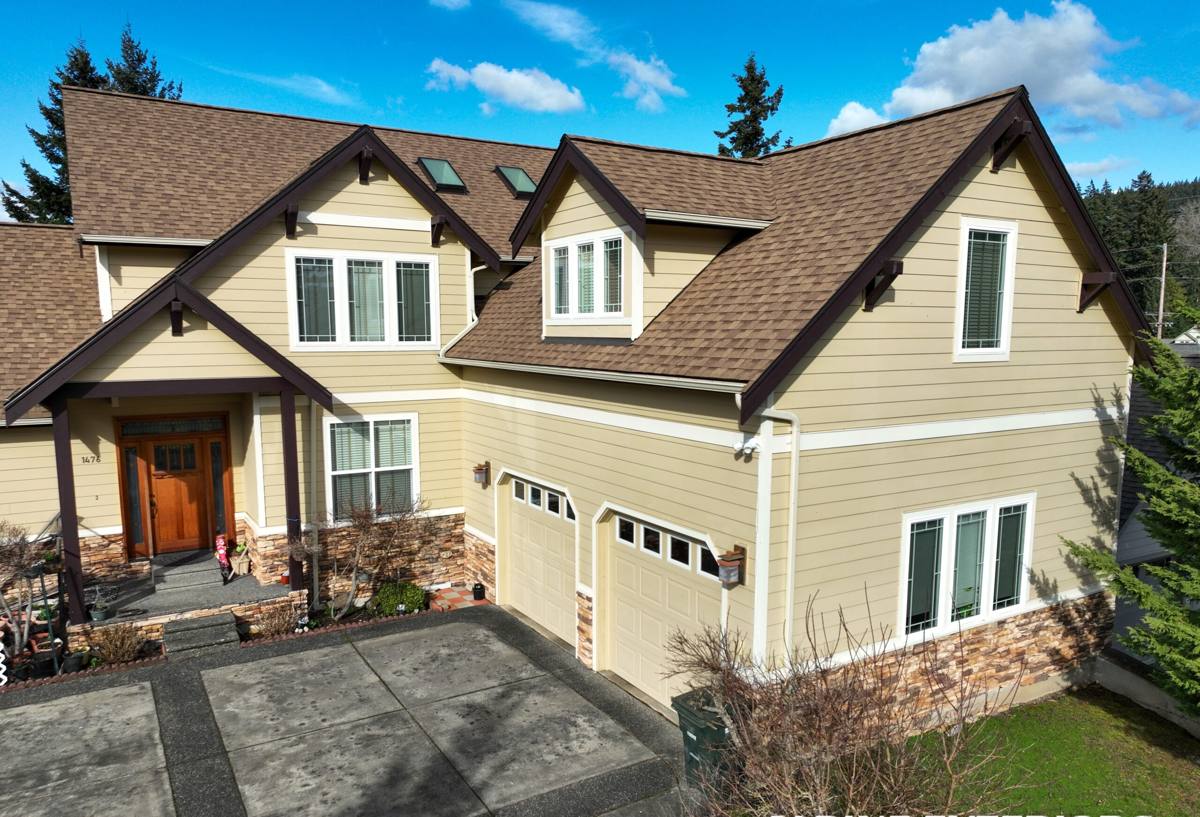
What a Deck on Lummi Island Is Really Up Against
Salt Air and Corrosion
Airborne salt doesn't just affect boats and dock hardware. It settles on fasteners, connectors, and any exposed metal on a deck, and it accelerates corrosion far faster than most manufacturers' standard hardware ratings account for. A fastener that would last two decades in a dry climate can start showing rust streaks and weakening within a few years this close to the water.
Driving Rain and Wind Exposure
Lummi Island's exposure to open water means wind-driven rain hits vertical surfaces, railings, and house connections with more force and from more angles than a typical inland deck ever sees. Water gets pushed into joints and seams that a sheltered deck would never have to deal with, which makes flashing and water-shedding details far more important than they'd be on a protected lot.
A Long Moss Season
Between the marine humidity and the shade many Lummi Island lots get from surrounding trees, decks here go through a genuinely long stretch of the year where surfaces stay damp. Moss and algae take hold quickly on any decking, railing cap, or stair tread that doesn't drain and dry efficiently, and once established, they hold moisture against the wood or composite surface and make everything slicker underfoot.
Material Choices That Actually Hold Up Here
Decking Surface Options
There's no single "best" decking material for every home — it depends on budget, how much upkeep you want to do, and how exposed the deck is. Ground-contact-rated pressure-treated lumber is the most economical option and performs fine with regular maintenance. Cedar looks great and resists rot naturally but needs consistent sealing in a climate this damp, or it will gray and soften faster than owners expect. Capped composite and PVC decking cost more up front but shed moisture without absorbing it, don't need staining, and resist the surface staining that moss and algae leave behind.
Fasteners and Hardware
This is where corners get cut on decks that aren't built for this environment, and it's usually the first thing to fail. We use stainless steel or heavy coated fasteners and structural connectors rated for corrosive and coastal exposure, not standard interior-grade hardware. It costs more per fastener, but replacing a corroded joist hanger buried inside a finished deck is a far bigger job than paying for the right hardware the first time.
Framing and Substructure
Everything under the decking — joists, beams, posts, and the connections between them — needs to be rated for the moisture load it will actually see, not the minimum code allows. That means proper ground-contact ratings where lumber is near soil, adequate post footings below frost depth, and enough structural capacity to handle wind loads off the water in addition to normal use loads.
The Ledger Board: Where Most Deck Problems Start
The ledger board — the piece that attaches the deck to the house — is the single most common source of deck failures we see, and it's also the detail that gets the least attention from crews who don't do a lot of exterior work. Because our crew's background is in roofing and exterior water management, we treat the ledger connection the same way we'd treat a roof-to-wall flashing detail: as a place where water absolutely must be directed away from the structure, not just sealed and hoped for.
That means proper flashing integrated behind the siding above the ledger, a water-resistant barrier between the ledger and the house framing, and fasteners sized and spaced to carry the structural load without creating extra penetration points for water to find. On a home exposed to driving rain off the water, a ledger connection that's just caulked and bolted on is a moisture problem waiting to happen, usually hidden until the rot has already spread into the house framing.
Drainage, Airflow, and Keeping Moss Off Your Deck
A deck that drains well and dries out between rain events is a deck that stays safer and lasts longer. That starts with proper board spacing and slope so water moves off the surface instead of pooling, and continues underneath the deck, where blocked airflow traps humidity against the framing and creates ideal conditions for both moss on top and rot underneath.
For decks close to grade or built over patios, we pay attention to how air moves beneath the structure and make sure landscaping, skirting, or under-deck drainage systems don't trap moisture against the framing. It's a detail that's easy to overlook during design and expensive to fix after the fact.
Comparing Decking Materials for a Waterfront Climate
| Material | Moisture / Salt Air Performance | Moss & Algae Resistance | Maintenance | Typical Upfront Cost |
|---|---|---|---|---|
| Pressure-treated wood | Good, with sealing | Moderate — needs periodic cleaning | Annual cleaning and resealing | Lowest |
| Cedar | Naturally rot-resistant, but softens if unsealed | Moderate | Regular sealing/staining | Moderate |
| Capped composite | Excellent — doesn't absorb moisture | Good, easy to clean | Occasional washing | Higher |
| PVC / cellular decking | Excellent, fully synthetic | Very good | Minimal | Highest |
Costs vary widely by size, structure, and site conditions — a straightforward ground-level deck and a multi-level deck over a slope with stairs and railings are very different projects. We'll walk through real numbers for your home during an estimate rather than guessing at a one-size figure here.
How We Approach a Lummi Island Deck Project
Building on Lummi Island takes a bit more planning than a mainland job, mostly around logistics. Ferry scheduling affects how we move crews and materials, so we plan site visits, material deliveries, and build days around that reality rather than treating it as an afterthought. Crews who don't regularly work the island tend to underestimate this, which shows up as delays or rushed work.
- Site visit to assess grade, exposure, existing structure, and how the deck will attach to the house.
- Design and material selection based on your budget, exposure to wind and water, and how much upkeep you want going forward.
- Permitting through the appropriate local building authority before any work begins.
- Material staging planned around ferry access so the crew isn't waiting on deliveries mid-build.
- Construction, with particular attention to the ledger connection, fastener selection, and framing details covered above.
- Final walkthrough covering drainage, railing safety, and basic maintenance expectations for your specific materials.
Maintaining Your Deck Through Whatcom County's Wet Seasons
Whatever material you choose, a little seasonal attention goes a long way toward avoiding early failures in this climate. A simple annual routine covers most of it:
- Clear leaves and debris from between boards and along the perimeter before the wet season sets in.
- Check exposed fasteners and hardware for early rust or corrosion, especially near the ledger and stair connections.
- Wash off moss and algae buildup before it stains or embeds into the surface — a stiff brush and mild cleaner is usually enough.
- Inspect the ledger flashing and the point where the deck meets the house for any signs of water staining or soft wood.
- Reseal or restain wood decking on the schedule the product calls for — don't wait until it visibly grays.
- Confirm railings and stair connections are still tight; corrosion-loosened hardware is often the first sign of a bigger issue.
Why Local Experience on Lummi Island Matters
Anyone can build a deck that looks right on the day it's finished. The real test is how it holds up after a few winters of driving rain, a few summers of salt air, and however many moss seasons in between. A crew that's built and maintained decks on Lummi Island already knows which details get skipped by outside contractors, which hardware actually survives out here, and how to plan around the island's logistics instead of being surprised by them. That experience shows up in fewer callbacks and a deck that's still solid a decade from now, not just on installation day.
If you're planning a new deck or need an honest look at one that's already showing its age, we're happy to come take a look. Estimates are free and there's no pressure — just a straightforward assessment of what your home actually needs.