 Birch Bay Roofing
 Windows for a Point Whitehorn Build Are a Different Job Than a Window Swap
If you're building new on or near Point Whitehorn, your windows aren't going into finished walls — they're going into open framing, before siding, before interior finish, while the building's water-management system is still being assembled around them. That's a completely different job from pulling out an old window and dropping a new one into an existing opening. New-construction windows use a nail fin (flange) that gets integrated directly into the wall's weather-resistive barrier and flashing sequence. Get that sequence right and the window becomes part of a wall that sheds water for decades. Get it wrong and you've built a leak path into brand-new framing, and you won't see it until there's already damage behind the drywall.
We install new-construction windows on homes throughout Birch Bay and the surrounding Whatcom County coastline, including Point Whitehorn, and we treat the flashing and water-management details as the actual scope of the job — not a formality on the way to setting glass.
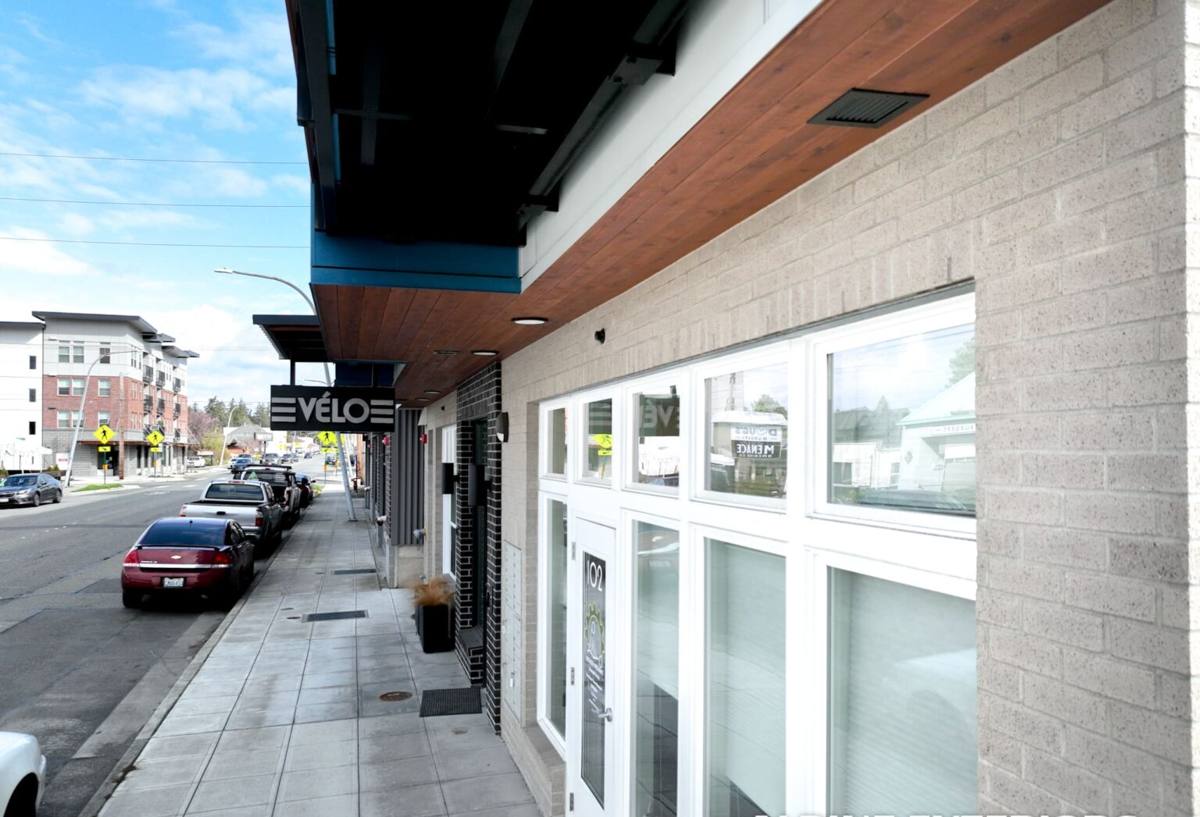
What Point Whitehorn's Location Demands From a Window Install
Point Whitehorn sits out on the shoreline facing the Strait of Georgia, which means homes here take a heavier, more direct dose of marine weather than lots set back inland. That matters for how a window gets specified and installed, not just what brand goes in the opening.
Salt Air
Airborne salt accelerates corrosion on anything metal — screws, flashing, hinges, balance hardware, even certain low-grade cladding on aluminum-clad units. On an exposed point like this, we lean toward corrosion-resistant fasteners and hardware and steer away from window components that are known to be sensitive to salt exposure over time.
Driving, Wind-Driven Rain
Open shoreline exposure means rain doesn't just fall here, it gets pushed sideways into the wall by wind off the water. A window that would perform fine on a sheltered inland lot can still leak on an exposed point if the sill pan, flashing laps, and sealant joints aren't built to handle water that's actively being driven into the assembly rather than just running down the face of the wall.
A Long, Wet Moss Season
Whatcom County's wet season runs long, and anything that stays damp for extended stretches becomes a candidate for moss, algae, and slow wood or sealant breakdown. For windows, that means drainage details — weep paths, sill pan slope, a functioning drainage gap behind siding — aren't optional extras. They're what keeps water from sitting against the frame and the surrounding wall assembly month after month.
The Water-Management Sequence: What Actually Keeps a New-Construction Window Dry
A correctly installed new-construction window isn't one product, it's a system of layered materials, each one lapped over the layer below so water is always directed outward and down, never into the wall. This is the part of the job that separates a window that performs for 30 years from one that quietly fails in five.
Sill Pan First
Before the window ever goes in, the rough opening's sill needs a sloped, sealed pan — usually a flexible flashing membrane formed to shed any water that gets past the window back out to the exterior rather than letting it pool on bare framing. Skipping the sill pan is one of the most common shortcuts we see on new builds, and it's the single detail most likely to cause hidden rot at a sill years down the road.
Flange Taping in the Right Order
The window's nail fin gets fastened to the framing, then the side flanges are taped, then the head flashing goes on last, lapped over the housewrap above the window — the same shingle-lap principle as roofing, where every layer overlaps the one below it. Reverse that order, or tape the head flashing under the housewrap instead of over it, and you've built a shelf that funnels water straight into the wall cavity instead of away from it.
A Drainage Gap Behind the Cladding
On a site with this much coastal moisture, we want a drainage plane behind the finish siding — a gap that lets any incidental moisture drain and air-dry instead of sitting trapped against the sheathing and window flanges. This is a wall-assembly decision as much as a window decision, and it's worth discussing with your builder before siding goes up.
Choosing a Window Product for an Exposed Coastal Lot
There's no single "best" window brand for every job — the right call depends on exposure, budget, and how the window will be maintained over time. What matters more is matching frame material and glass package to the site.
| Frame Material | Salt Air / Coastal Behavior | Maintenance | Typical Fit for Point Whitehorn |
|---|---|---|---|
| Vinyl | Good — won't corrode, but check UV and impact rating on exposed elevations | Low | Solid value option on most builds |
| Fiberglass | Very good — dimensionally stable, low sensitivity to salt and moisture cycling | Low | Strong choice for the most exposed, wind-facing walls |
| Wood or Wood-Clad | Fair — needs a sound, well-maintained exterior cladding to keep moisture off bare wood | Higher | Best where the interior look matters and upkeep is planned for |
| Aluminum | Depends heavily on the finish quality; some coatings are more salt-sensitive than others | Moderate | Use selectively, with attention to hardware and finish spec |
Energy Performance and Washington's Code
New construction in Whatcom County has to meet Washington State Energy Code requirements for U-factor and, depending on your compliance path, solar heat gain. We spec glass packages against the NFRC label on the window, not marketing claims, so what we install actually matches what your building permit requires.
Our New-Construction Window Process
On a new build, window installation has to land at the right moment in the schedule and follow a consistent sequence every time. Here's what we walk through on a typical Point Whitehorn install:
- Verify rough openings are square, level, and sized correctly before the window ever shows up on site
- Confirm housewrap or WRB is installed and lapped correctly around each opening
- Install sloped sill pan flashing at every opening, no exceptions
- Set the window plumb, level, and square, and fasten per manufacturer spec
- Tape side flanges, then install and lap head flashing last, over the housewrap above
- Check reveal and shim as needed so the window operates smoothly, not just fits visually
- Seal and insulate the interior gap around the frame per manufacturer requirements
- Photograph flashing details at each opening before they're covered by siding, for our own records and yours
Coordinating With Your Builder or GC
New-construction windows don't happen in isolation — they sit at the handoff point between framing, the weather barrier, and siding. We work directly with your general contractor or framing crew to make sure the wall is ready for windows when we arrive, and that whoever installs siding afterward understands how the flashing was built so they don't cut into it or cover it incorrectly. On a coastal lot like Point Whitehorn, that coordination matters more than usual, because there's less room for error before wind-driven rain finds a weak point.
Mistakes We See — and Build Around
Most window leaks on newer homes don't come from a bad window. They come from an installation shortcut that looked fine on the day and failed quietly over the following winters. The recurring ones we watch for:
- No sill pan, or a sill pan that isn't sloped to drain
- Housewrap taped under the head flange instead of over it, reversing the shingle-lap
- Caulk used as the primary water barrier instead of proper flashing and laps
- Fasteners or hardware that aren't rated for coastal, salt-exposed conditions
- No drainage gap behind siding, trapping moisture against the wall assembly
None of these show up on a walkthrough. They show up two, five, or ten winters later, usually as a stain, a soft spot, or a musty smell that means water's already been getting in for a while.
Why a Crew That Already Works This Coastline Matters
Point Whitehorn's exposure isn't like a sheltered inland lot in Birch Bay or elsewhere in Whatcom County, and a crew that mostly works protected sites can miss that without meaning to. Working this stretch of coast regularly means we're not guessing at how much wind-driven rain a wall needs to shed, or which hardware holds up to salt air over time — we're building to what this specific exposure actually throws at a house, install after install.
After Move-In: What to Keep an Eye On
New-construction windows are largely maintenance-free day to day, but on a coastal lot it's worth doing a simple check once or twice a year: look at weep holes for debris or moss buildup, confirm exterior caulk lines around the frame are still intact, and watch for any staining on interior sills after a heavy wind-driven rain event. Catching a small sealant gap early is a five-minute fix. Catching it after a winter of neglect can mean opening up a wall.
If you're planning a new build or an addition on or near Point Whitehorn, we're happy to walk the plans with you and talk through window and flashing details before framing gets that far along. Reach out for a free, no-pressure estimate using the form below.