 Birch Bay Roofing
 Siding That Has to Work Harder on Lummi Island
Lummi Island sits out in the Salish Sea, reachable only by ferry, and that isolation shapes everything about how a home's exterior holds up. Wind comes off open water with nothing to slow it down, salt spray settles on siding year-round, and the island's wooded, often shaded lots stay damp long after the rain stops. A siding product and installation method that performs fine in a sheltered inland neighborhood can fail early out here. We install siding on Lummi Island regularly, and we plan every job around the conditions the island actually produces — not generic Pacific Northwest averages.
This page focuses specifically on siding installation for Lummi Island homes: what the climate does to exterior walls, what a correct installation looks like, how our process works, and why it matters to hire a crew that already understands the logistics of working on an island.
What Salt Air, Driving Rain, and Moss Season Do to Siding
Three conditions define the wear pattern on Lummi Island homes, and they compound each other.
Salt Air
Airborne salt from the surrounding water settles on exterior surfaces continuously, not just during storms. It accelerates corrosion of exposed fasteners, degrades certain paint and coating systems faster than inland exposure would, and works its way into any seam or gap in the siding assembly. Products and finishes that aren't rated for coastal exposure tend to chalk, fade, or corrode noticeably sooner here than the same product would a few miles inland.
Driving Rain
Storms coming off open water push rain sideways, not straight down. That means water gets forced up under laps, into butt joints, and behind trim at pressures a calm-weather installation was never tested against. The weather-resistive barrier behind the siding, the flashing details around openings, and the drainage path behind the cladding all matter more here than in a wind-sheltered location.
Moss and Sustained Moisture
Many Lummi Island lots are wooded or waterfront, which means shade, limited drying time, and long stretches of damp air even between rain events. Moss and algae take hold on any surface that stays wet, and on siding that traps moisture against the wall — rather than shedding it and drying out — that growth becomes a long-term moisture problem, not just a cosmetic one.
None of this means Lummi Island homes need something exotic. It means the siding product has to be genuinely moisture- and corrosion-resistant, and the installation has to prioritize drainage and sealing over shortcuts.
Why We Install Only James Hardie Fiber Cement
We standardized on James Hardie fiber cement siding for every project we do, including on Lummi Island, and we don't install vinyl, LP SmartSide, Cemplank, Allura, primed spruce, or cedar. That's a deliberate professional standard, not a sales pitch, and it's worth explaining honestly.
Hardie fiber cement is non-combustible, holds its shape and paint line in coastal wind and moisture better than wood-based or engineered-wood alternatives, and comes with a factory-applied ColorPlus finish that's baked on and warranted against fading — a real advantage in a location with constant salt exposure and UV off open water. Hardie also makes climate-specific product lines engineered for exactly the conditions the Pacific Northwest coast produces.
What We Don't Install, and Why
- Vinyl siding: It's affordable and low-maintenance in mild climates, but it can become brittle in cold snaps and tends to show warping or fading faster under sustained coastal sun and salt exposure than fiber cement does.
- LP SmartSide and other engineered wood: These products perform well when installation and maintenance are followed precisely, but they rely on wood strand cores that are more sensitive to sustained moisture exposure than fiber cement — a real concern on shaded, damp island lots.
- Cedar and primed spruce: Real wood siding can look excellent, but it demands ongoing refinishing and is naturally more vulnerable to moisture and rot in a climate that rarely lets surfaces fully dry out.
We're not claiming these products fail — thousands of homes wear them successfully. We're saying that for the specific combination of salt air, wind-driven rain, and moss-season moisture that Lummi Island produces, we've concluded fiber cement is the more reliable long-term choice, and we'd rather install one product exceptionally well than several products adequately.
What a Correct Installation Involves
The siding material is only part of the equation. Most siding failures we get called to inspect trace back to installation shortcuts, not product defects. On Lummi Island in particular, a few details matter more than usual:
Drainage Behind the Cladding
Rather than fastening siding directly against the weather barrier, a drainage gap — created with furring strips or a purpose-built rainscreen product — gives any moisture that does get past the siding a path to drain and air to circulate and dry the wall assembly. On a shaded, damp lot, that drying capacity is often the difference between siding that lasts decades and one that traps moisture behind it for months at a time.
Flashing at Every Penetration
Windows, doors, vents, and any other wall penetration need correctly lapped flashing so wind-driven rain can't work its way behind the siding at those weak points. This is detail work that takes longer to do right and is invisible once the job is finished — which is exactly why it gets skipped on rushed installations.
Fastening Rated for Wind and Corrosion
Fasteners need to be corrosion-resistant and driven to the manufacturer's exact spacing and depth specifications. Over- or under-driven nails are one of the most common defects we find on re-siding jobs, and in a salt-air environment, the wrong fastener type will corrode and stain the siding face years before the panel itself would fail.
Manufacturer-Specified Gaps and Sealant
Fiber cement needs to be installed with the clearances and joint treatment the manufacturer specifies — including where caulking is appropriate and where it isn't. Sealing a joint that's supposed to drain, or leaving open a joint that's supposed to be sealed, both create moisture problems that show up later, not on installation day.
Our Installation Process
- On-site assessment: We look at your home's exposure — how much direct wind and salt spray it gets, how much shade and tree cover surrounds it, and the condition of the existing siding and sheathing underneath.
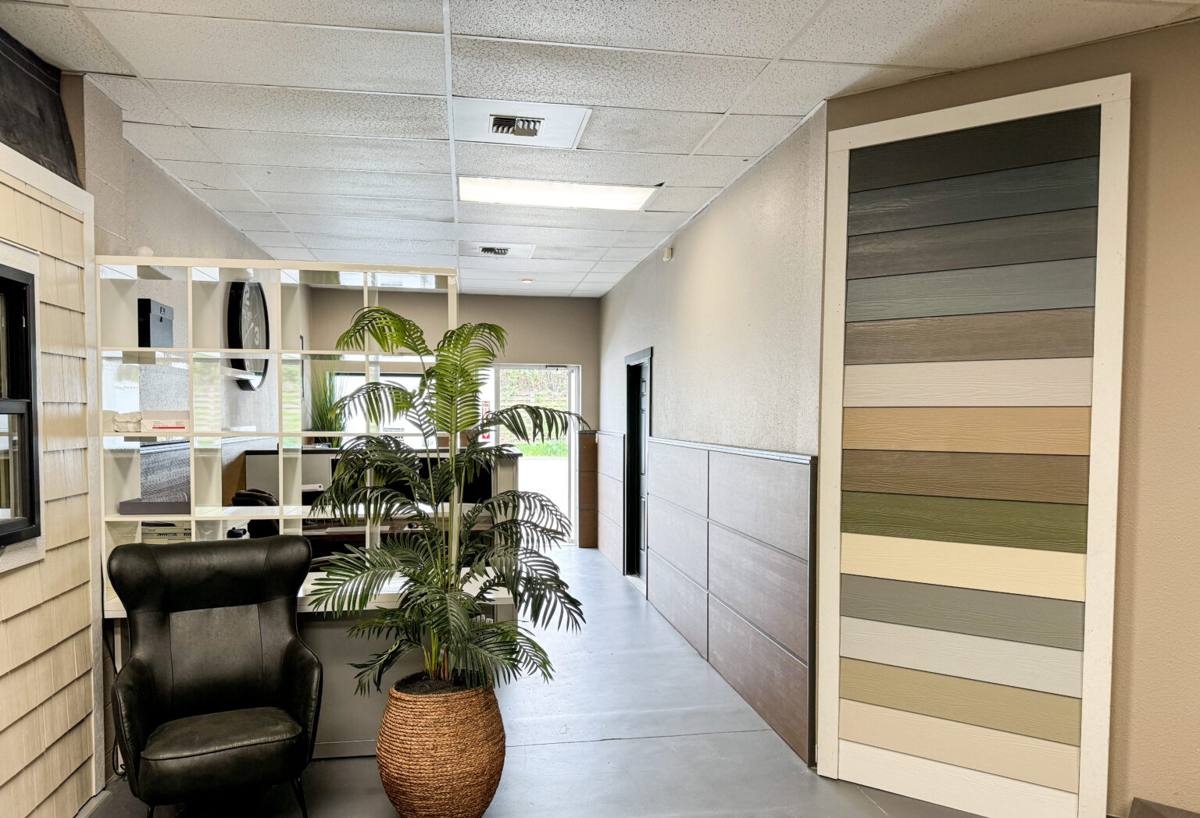
- Product and color selection: We walk through Hardie's panel and lap options and ColorPlus palette, factoring in how each performs under coastal sun and salt exposure.
- Tear-off and sheathing check: We remove the old siding and inspect the sheathing and framing underneath for any moisture damage before anything new goes up — a step that matters more on older island homes.
- Weather barrier and drainage plane: We install a new weather-resistive barrier and drainage gap system correctly lapped and sealed before any siding is hung.
- Flashing and trim: All windows, doors, and penetrations get properly integrated flashing before the field siding goes on around them.
- Siding installation: Panels or lap siding are installed to Hardie's fastening and clearance specifications, not shortcuts adapted from other siding types.
- Final inspection and cleanup: We walk the finished job with you, check every seam and joint, and clear the site of debris and packaging.
Choosing the Right Hardie Line for a Marine Environment
James Hardie makes climate-engineered product lines, and for coastal Whatcom County exposure, we typically recommend the HZ5 line, which is formulated for wetter, more variable climates rather than the milder HZ10 line built for drier regions. The difference isn't cosmetic — it affects how the product handles moisture cycling over years of exposure.
| Consideration | What It Means for Lummi Island Homes |
|---|---|
| Product line | HZ5 is engineered for wetter, harsher climates — the right match for direct water exposure and salt air |
| Panel vs. lap siding | Both perform well; choice usually comes down to the look you want and your home's existing trim details |
| ColorPlus finish | Factory-baked finish resists fading and chalking better than field-applied paint under constant UV and salt exposure |
| Color selection | Darker colors show less staining from salt residue and organic buildup than very light colors in shaded, damp locations |
We'll talk through these tradeoffs during your estimate rather than pushing one default choice — the right combination depends on your home's exposure, existing trim, and your own preferences.
Cost Factors for a Lummi Island Siding Project
| Factor | Why It Affects Cost |
|---|---|
| Ferry and logistics | Material delivery and crew scheduling have to work around ferry sailings, which we build into project timelines |
| Existing wall condition | Sheathing repair or rot remediation found during tear-off adds scope beyond the siding itself |
| Home size and complexity | Roofline cuts, dormers, and trim detail all add labor time beyond flat wall area |
| Access and staging | Steep, waterfront, or heavily wooded lots can require more setup time for scaffolding and material staging |
| Product selection | Panel style, lap width, and color line all carry different material costs |
We give straightforward, itemized estimates rather than a single vague number, so you can see exactly what's driving the cost of your specific project.
Why a Crew That Already Works Lummi Island Matters
Island jobs run differently than mainland jobs, and a contractor who hasn't accounted for that will cost you time and frustration. Ferry sailings are limited, which means material deliveries and crew arrivals have to be planned in advance, not improvised. A crew that already works Lummi Island builds ferry timing into the schedule from day one, knows how to stage materials efficiently for a single trip over, and isn't discovering island logistics on your project's dime. We also carry familiarity with how island homes — often older, waterfront, or built into wooded lots — tend to be constructed underneath their existing siding, which speeds up the tear-off and assessment phase.
Signs Your Current Siding May Need Replacing
- Persistent moss, algae, or dark staining that returns shortly after cleaning
- Soft or spongy spots when you press on the siding, especially near the bottom courses
- Visible warping, buckling, or gaps opening up at seams and corners
- Paint or finish that's peeling, chalking heavily, or fading unevenly
- Rust streaks running down from fasteners or trim
- Rot or discoloration visible around window and door trim
If you're seeing any of these on your Lummi Island home, it's worth having the siding and the wall assembly behind it inspected before small problems become structural ones.
If you're weighing a siding replacement on Lummi Island, we're happy to come take a look and walk you through what we'd recommend for your home's specific exposure — no pressure, no obligation. Use the form below to request a free estimate.