 Birch Bay Roofing
 New Construction Is a Different Job Than Replacement
Installing windows into an open rough opening during new construction is not the same trade as swapping out an old window in a finished wall. There's no existing frame to work around, no old caulk lines to clean up, and no guessing what's hiding behind the trim. But there's also no room for error once the siding and drywall go on. A flashing mistake made during framing doesn't show up as a leak for months or years — and by then it's buried behind finished walls. For builders and homeowners in Sumas, Washington, getting this stage right the first time matters more than almost any other part of the exterior envelope.
We install new-construction windows for builders, remodelers, and homeowners working on new homes, additions, and shops throughout the Sumas area. This page covers what a correct installation actually involves, what the local climate demands from the window and the install, and how we fit into your build schedule without becoming the reason your framer or sider is waiting around.
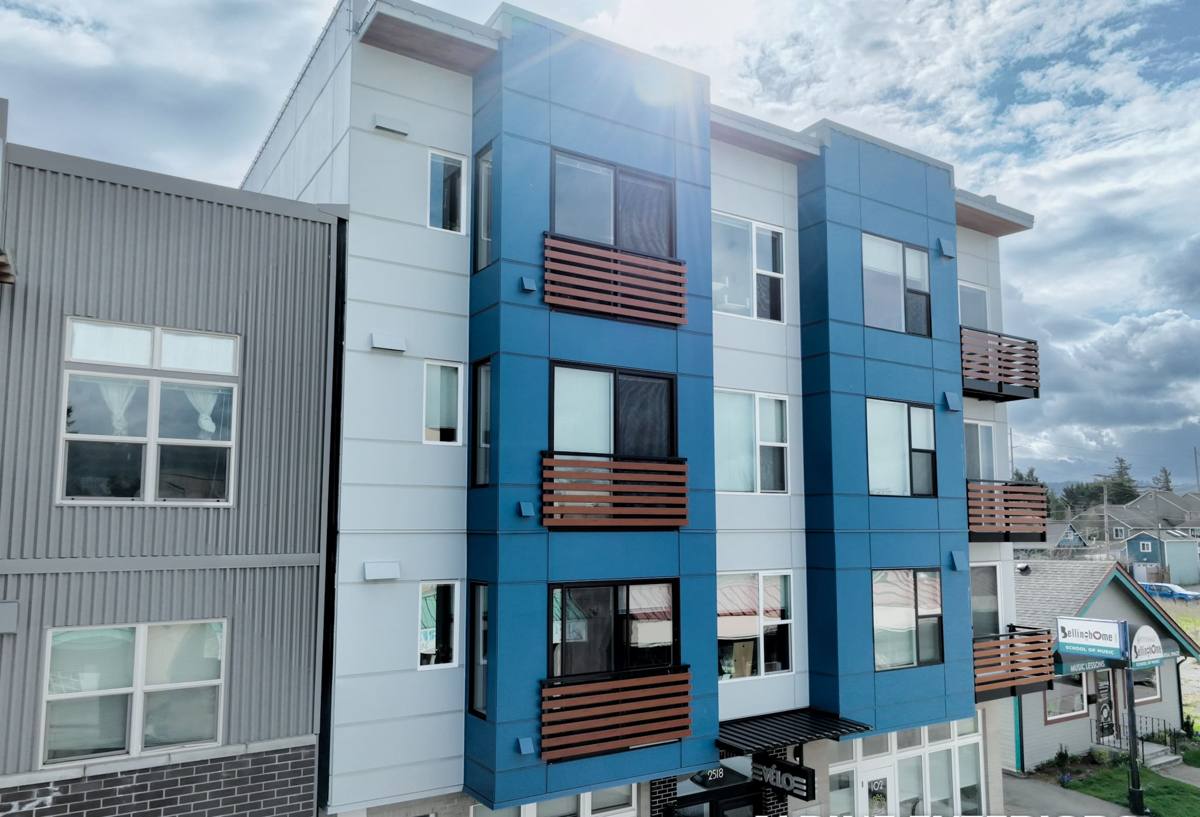
What Whatcom County Weather Demands From a New-Construction Window
Whatcom County sits in a wet, marine-influenced climate — long stretches of driving rain in fall and winter, heavy dew and condensation through spring, and an extended moss and mildew season that keeps exterior surfaces damp for weeks at a time. Wind-driven rain in particular is the enemy of a poorly flashed window; it doesn't just fall straight down, it gets pushed sideways and upward under sills and trim, finding any gap in the water-management layer.
That combination means a new-construction window installation here has to get three things right, every time:
- A sill pan and flashing sequence that sheds water outward even under wind pressure, not just gravity drainage
- Proper integration with the house wrap or weather-resistant barrier — shingled correctly, not just taped over
- A glass and frame package rated for our humidity and temperature swings, so condensation doesn't become a long-term moisture problem inside the wall cavity
Skip any one of these and the home looks fine for a year or two. Then trim starts to swell, paint starts to fail at the corners, or drywall near the window develops staining. We build every install around avoiding that outcome, not just getting the window to sit square in the opening.
The Flashing Sequence: Where Most Failures Actually Start
Window leaks almost never come from the window itself failing — they come from water getting behind the window and having nowhere to go. The flashing sequence is the part of the job nobody sees once the siding is up, which is exactly why it has to be done in the right order, every time, regardless of schedule pressure.
The Sequence We Follow
- Rough opening check — verify the opening is square, plumb, and sized correctly before anything else happens
- Sill pan installation with back-dam and sloped drainage, sealed at the corners
- Weather-resistant barrier cut and folded into the opening, integrated with the sill pan
- Window set, leveled, and shimmed at the correct load points — not just at the corners
- Nailing fin fastened per the manufacturer's schedule, not "close enough"
- Jamb flashing applied over the fin
- Head flashing installed last, lapped over the jamb flashing and integrated with the WRB above the opening — this is the layer that keeps water from ever reaching the fin in the first place
- Interior gap insulated with low-expansion foam or backer rod — never packed solid, which can bow the frame
Every layer above laps over the layer below it, so water is always directed outward and down, never trapped behind the cladding. This is standard building science, but it only works if every step happens in order and nobody skips a layer to save ten minutes.
Choosing the Right Window for a Sumas Build
Frame material matters more in a wet climate than in a dry one. We'll talk through options with you or your builder based on budget, exposure, and how the home is being used, but here's the honest comparison we give every client:
| Frame Material | Moisture Tolerance | Maintenance | Typical Lifespan | Best Fit |
|---|---|---|---|---|
| Vinyl | Very good — won't rot or corrode | Low — occasional cleaning | 20-30+ years | Most new builds; best value |
| Fiberglass | Excellent — very stable in wet/dry cycles | Low | 30-40+ years | Higher-exposure walls, larger openings |
| Wood-clad (vinyl or aluminum exterior) | Good on the exterior face, but interior wood requires care at the sill | Moderate | 25-30+ years with upkeep | Interior wood aesthetic where budget allows |
| Aluminum | Weak thermal performance, prone to condensation without thermal break | Low | Varies | We generally steer new builds away from this in our climate |
For glass, we spec double- or triple-pane units with a low-E coating and an appropriate U-factor to meet Washington's energy code, and we pay attention to condensation resistance — not just heat loss — since interior humidity combined with our cool, damp winters is what actually causes moisture problems at the glass edge and sill.
Egress and Code Requirements
Bedrooms and other habitable spaces have minimum egress opening requirements under the state building code, and window placement in new construction has to account for that from the framing stage, not after the fact. We flag egress, tempered-glass, and safety-glazing requirements (near doors, low sills, wet areas) during our walkthrough so nothing gets caught at inspection.
Our Process, Start to Finish
Most of our new-construction window work runs on a builder's schedule, so we keep the sequence predictable:
- Plan review — we confirm window schedule, sizes, and egress/safety-glazing requirements against the plans before ordering
- Rough opening walkthrough — we check openings before install day and flag framing issues while they're still cheap to fix
- Install — sill pan, WRB integration, set, shim, fasten, flash, in that order, on every opening
- Pre-drywall inspection — we photograph and check flashing integration before insulation and drywall go up, since that's the last point anyone can see this work
- Final trim and sealant — once siding is complete, we finish exterior trim details and confirm sealant joints are placed where they help, not where they trap moisture
Pre-Drywall Checklist We Run on Every Window
- Sill pan sloped and sealed at corners with no gaps
- WRB shingled correctly — upper layers overlapping lower layers
- Nailing fin fully fastened per manufacturer spacing
- Head flashing lapped over jamb flashing, integrated with WRB above
- Window operates smoothly, closes and locks without binding
- Interior gap insulated without overpacking
- No exposed fasteners or gaps in the water-resistant barrier around the opening
Working With Your Builder or General Contractor
On new construction, we're one trade in a sequence — framers before us, siders and sometimes stucco or masonry crews after us. We coordinate directly with your GC or builder on scheduling, and we communicate clearly if a rough opening isn't ready or if something in the framing needs to be addressed before we can install correctly. We'd rather flag a problem before we set a window than install into a bad opening and have it show up as a callback later. If you're a homeowner acting as your own GC, we can walk you through the sequence and what to expect at each stage.
Common Mistakes We See on New Builds
A lot of window problems in newer homes trace back to a handful of repeatable issues:
- Sealant used as a substitute for proper flashing instead of a backup to it
- Nailing fins fastened with too few nails or the wrong spacing
- Head flashing skipped or installed under, rather than over, the WRB above the window
- Rough openings that are out of square, forcing the window to be shimmed unevenly
- Interior gaps packed solid with expanding foam, which can bow vinyl frames and cause operational problems
None of these show up on install day. They show up as a leak, a stuck sash, or a stain on the drywall a year or two down the road — which is exactly why we treat the flashing and fastening steps as non-negotiable, even when a schedule is tight.
Why It Matters That We Already Work in Sumas
Sumas and the surrounding Whatcom County communities have their own permitting offices, inspectors, and local building patterns, and a crew that's already worked in the area isn't relearning that on your project. We know what local inspectors look for at the pre-drywall stage, we're familiar with the exposure and moisture challenges specific to this part of the county, and we're not driving in from out of the area for a callback if something needs attention after the siding is on. That local familiarity is part of what keeps a new-construction window install from turning into a warranty problem two winters later.
If you're building, adding on, or acting as your own GC in the Sumas area, we're happy to walk the plans with you, talk through window options, and give you a straightforward, no-pressure estimate. There's a form below — reach out and we'll get back to you.