 Birch Bay Roofing
 Building New in Terrell Creek Means Getting the Window Install Right the First Time
When a home is going up in Terrell Creek, the windows aren't an afterthought bolted into an existing wall — they're built into the structure from the framing stage forward. That's the whole point of new-construction windows: the nailing fin gets integrated directly with the house wrap, the sill pan, and the flashing sequence before siding ever goes on. Done correctly, that assembly is the single best defense a Whatcom County home has against the weather it's going to see for the next 30-plus years. Done wrong, the problems don't show up on move-in day — they show up two or three wet seasons later, buried behind finished walls where nobody can see them until there's already damage.
We install new-construction windows on homes throughout Birch Bay and the surrounding Terrell Creek area, working alongside builders and general contractors during the framing and dry-in phase. This page covers what that job actually involves here, why the local climate changes some of the decisions, and what to expect if you're building new or working with a GC who needs a window subcontractor who already knows this ground.
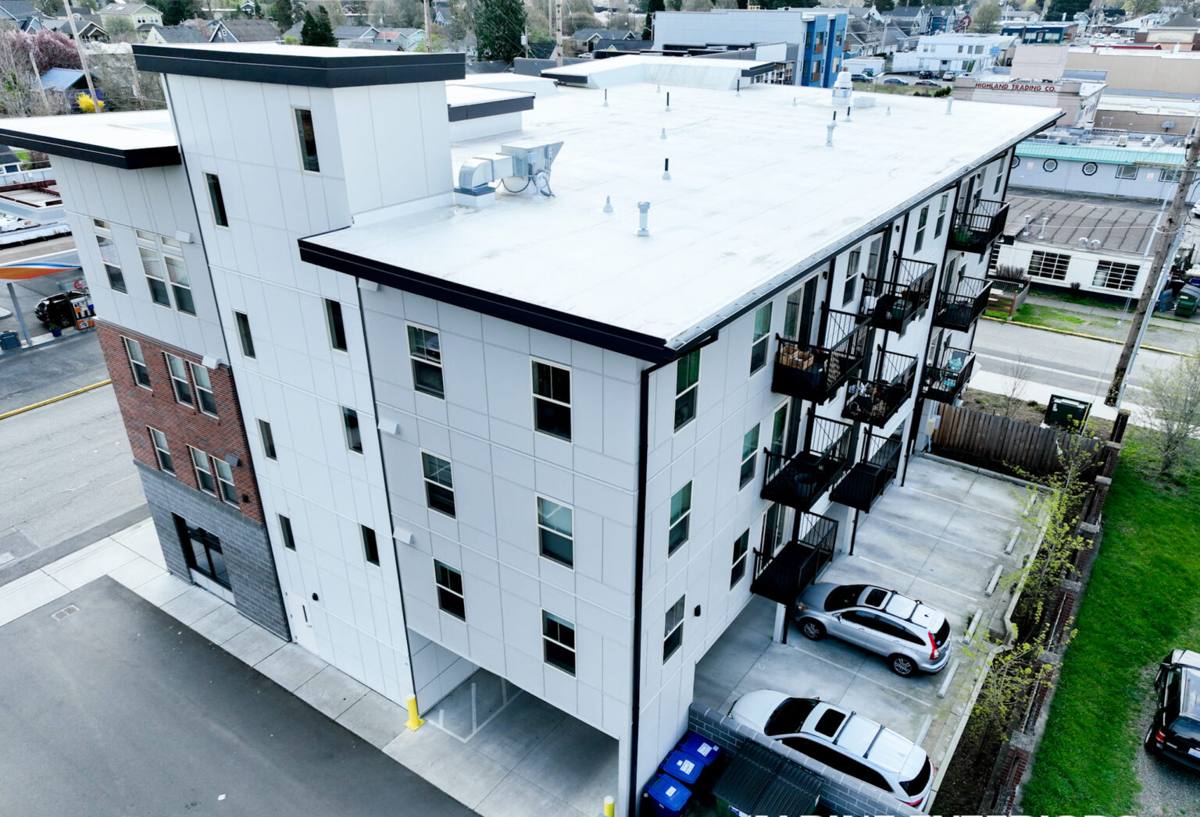
What Terrell Creek's Climate Does to a Window Installation
Terrell Creek sits close enough to Birch Bay and the Strait of Georgia that salt-laden air is a real, ongoing factor — not just a coastal cliché. Salt air accelerates corrosion on exposed fasteners, hinges, and any hardware that isn't rated for it, and it can also work into failure points in a mediocre sealant job over time. That's part of why fastener choice and sealant selection aren't afterthoughts on a job out here.
Driving rain is the second factor. Storms coming off the water don't fall straight down — wind pushes rain sideways into wall assemblies, which means a window that would be fine in a dry inland climate can still leak here if the flashing details aren't built to shed water horizontally, not just vertically. And then there's moss season, which in this part of Whatcom County runs long — many months of sustained dampness, especially on wooded or partially shaded lots, which describes a good number of Terrell Creek properties. Extended dampness slows sealant cure times during installation, promotes algae and mildew staining on sills and trim if drainage isn't handled right, and rewards details that shed water quickly over details that merely tolerate it.
None of this means new-construction windows here need to be exotic or overbuilt. It means the ordinary steps — sill pan flashing, proper WRB lapping, correct sealant in the right temperature and moisture window — have to actually get done, in the right order, every time.
Why This Matters More During New Construction Than Later
A retrofit replacement window has to work around what's already there. A new-construction window gets installed while the wall is still open, which is both an advantage and a responsibility — there's no excuse for a flashing shortcut when the framing is fully exposed and every layer is accessible. Mistakes made at this stage get sealed behind siding and trim, sometimes for decades.
New-Construction vs. Replacement Windows — Why the Install Method Matters
Homeowners planning a build in Terrell Creek sometimes ask why we talk about "new-construction" windows as a distinct category. The window unit itself can look similar either way — the difference is almost entirely in how it attaches to the structure and how water is managed around it.
| Factor | New-Construction (Nail-Fin) | Replacement (Block-Frame / Insert) |
|---|---|---|
| Installation stage | During framing, before siding | Into an existing, finished wall |
| Flashing access | Full — sill pan and WRB fully exposed | Limited to what's reachable from inside the existing opening |
| Water management | Built into the wall assembly from scratch | Relies on the existing wall's condition and prior flashing |
| Best fit | New builds, additions, full wall-open remodels | Existing homes where the wall isn't being opened up |
For a Terrell Creek new build, this isn't really a choice — new-construction windows are simply the correct method when the wall is open. The decisions that matter are how carefully that opportunity gets used.
Choosing Frame Materials for a Salt-Air, High-Moisture Site
Vinyl, fiberglass, and wood-clad frames all show up in new construction around Birch Bay, and each has real trade-offs once salt air and long wet seasons enter the picture.
- Vinyl is the most common choice for good reason — it doesn't corrode, it doesn't need painting, and modern multi-chambered vinyl frames perform well thermally. Its main limitation is dimensional movement with big temperature swings, which is a smaller concern in our relatively mild marine climate than it would be somewhere with harsh seasonal extremes.
- Fiberglass costs more up front but moves very little with temperature and holds paint well if you want a custom color. It's a strong option for larger openings or homes where the owner wants a specific exterior look that vinyl can't match.
- Wood-clad frames give an interior wood look with an exterior-facing clad shell, but the cladding's seams and end cuts are exactly the kind of detail that needs flawless sealant work in a driving-rain, high-moss environment. We're honest with clients about that added maintenance sensitivity before they commit to it on a coastal-adjacent lot.
There's no single "right" answer — it depends on budget, the home's exposure to weather, and how much ongoing maintenance the owner wants to take on. We'll walk through the real trade-offs for your specific lot rather than pushing one product line.
Flashing and Water Management — the Part That Actually Prevents Leaks
Most window leaks trace back to flashing sequence, not the window unit itself. On a new-construction install, we build the water management layer in this order: sill pan flashing sloped to drain outward, window set into the pan, side and head flashing lapped correctly over the housewrap so water is always directed outward and downward, and sealant placed only where it should be — a fully sealed perimeter can trap water instead of releasing it, which is a common mistake on jobs rushed by crews unfamiliar with marine-climate detailing.
Why Sequence Matters More Than Sealant
Caulk and sealant are backup, not the primary strategy. A correctly shingled, gravity-fed flashing assembly will keep water out even if a bead of sealant eventually degrades. A poorly sequenced assembly that relies on sealant as the main barrier will eventually fail — it's a matter of when, not if, especially with the sustained damp stretches Whatcom County sees through fall, winter, and much of spring.
Energy Performance for a Marine Climate
Washington's state energy code sets minimum performance requirements for new-construction windows, and every unit we install carries an NFRC label showing its U-factor and Solar Heat Gain Coefficient (SHGC). In our climate zone, U-factor — how well the window resists heat loss — matters more day-to-day than SHGC, since Birch Bay's marine climate is heating-dominated rather than cooling-dominated. We help clients and builders select glass packages that meet or exceed code minimums without over-spending on solar control performance that isn't doing much work in a climate this mild and often overcast.
Egress requirements are the other code factor that shapes new-construction window selection — bedroom windows need to meet minimum clear opening dimensions for emergency escape, which affects which sizes and configurations are usable in sleeping rooms. We flag this during plan review, well before framing, so it's never a surprise at inspection.
Our Process When We're Framing In Your Windows
On a new build or addition in Terrell Creek, our sequence generally looks like this:
- Review the window schedule and elevations against the plan set, confirming sizes, egress compliance, and rough opening dimensions before anything ships.
- Coordinate scheduling with the general contractor so windows arrive and get set at the right point in the framing and dry-in sequence — not too early, not after the crew has already moved past that wall.
- Install sill pan flashing and confirm rough openings are square, plumb, and properly sized before the window ever goes in.
- Set and fasten the window, then integrate flashing tape and housewrap in the correct shingle-lap order.
- Seal, insulate the perimeter gap, and photograph the assembly at each stage for our own records and, when requested, for the builder's documentation.
- Final check once siding and trim are complete to confirm operation, weatherstripping contact, and a clean reveal all around.
Working With Your Builder — What to Confirm Before Install Day
Whether you're an owner-builder or working with a general contractor on a Terrell Creek project, a few things are worth nailing down before window crews show up on site:
- Confirm who supplies the windows versus who installs them, and that warranty coverage is clear on both sides.
- Make sure the window schedule matches the approved plans — sizes, egress rooms, and tempered-glass locations (bathrooms, near doors, low sills) are common places for mismatches.
- Ask what flashing tape and sealant products will be used and confirm they're compatible with the housewrap already on the walls — not all products are.
- Verify the installer will document the flashing sequence with photos before it's covered by siding.
- Set a realistic install date relative to weather — sealants and flashing tapes have minimum application temperatures and need reasonably dry conditions to bond properly, which matters when scheduling during our wetter months.
Why a Crew That Already Works Terrell Creek Matters
Building science for windows isn't regional in theory, but in practice, a crew that installs new-construction windows across Birch Bay and Terrell Creek day in and day out has already seen how this specific stretch of Whatcom County behaves — which lots hold moisture longer under tree cover, which exposures take the worst of the driving rain off the water, and which flashing details actually hold up through a full moss season rather than just looking right on install day. That local repetition is worth more than a generic install checklist, because it means the judgment calls made mid-installation — and there are always a few — are informed by what's actually worked on homes near yours.
If you're planning new construction or an addition in Terrell Creek and need a window contractor who'll coordinate directly with your builder, we're glad to walk the plans with you and give you a straightforward, no-pressure estimate using the form below.